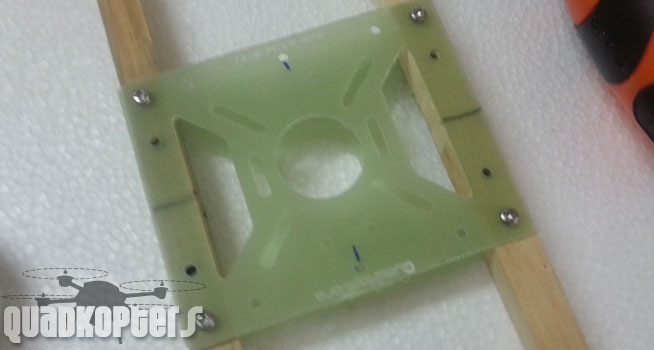
EasyCopter H-Quad hub comes with
1 x top plate,
1 x bottom plate
8 x 90o angle booms holder
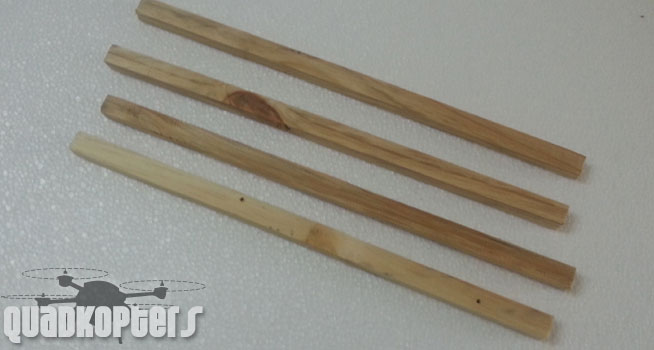
Step 1: We are using 13mm wooden booms for this build demo, you can use 13mm aluminum booms too.
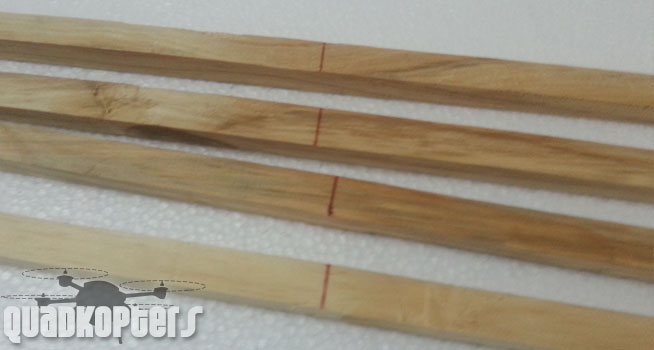
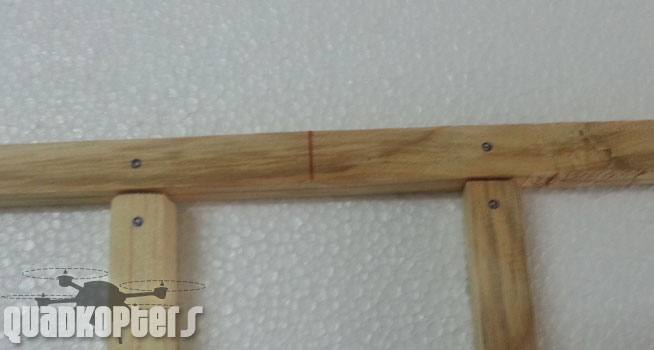
Step 2: Mark centre of the booms.
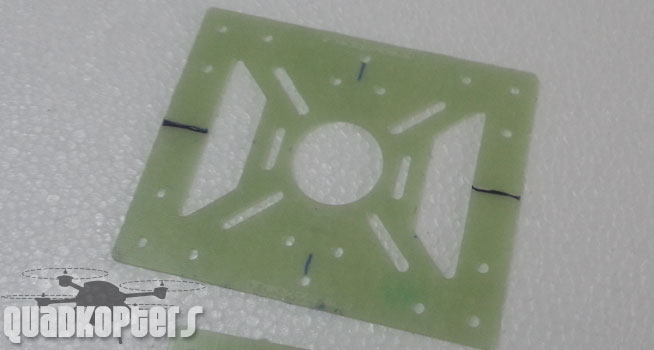
Step 3: Mark center of plates too (all 4 sides)
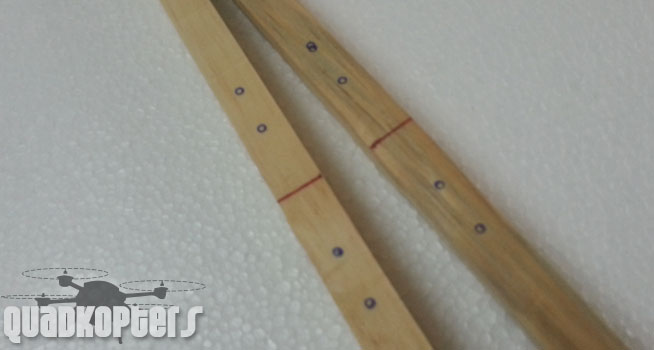
Step 4: Mark holes on the left and right side of the boom
Step 5(a): Place left and right along with top boom, and mark the hole as shown below
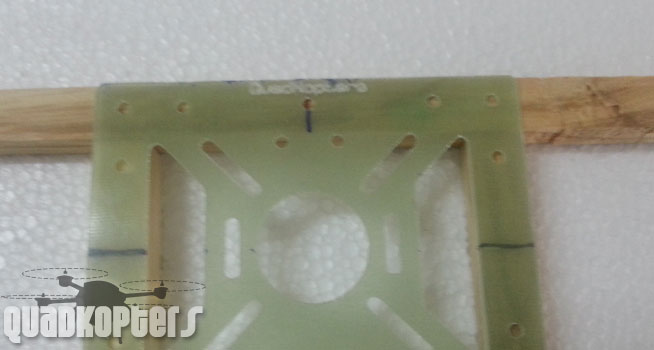
Step 5(b): Only mark the holes which are highlighted.
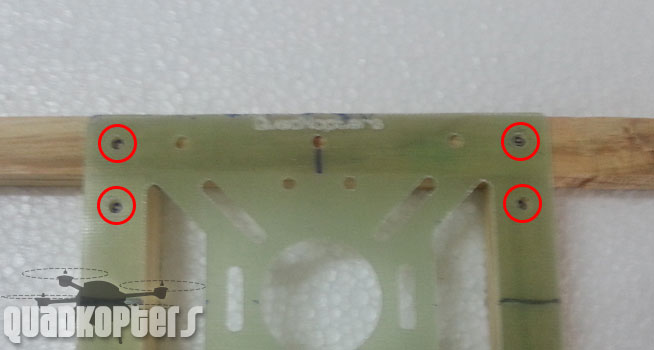
Step 5(c): This is how you get to see the marking.
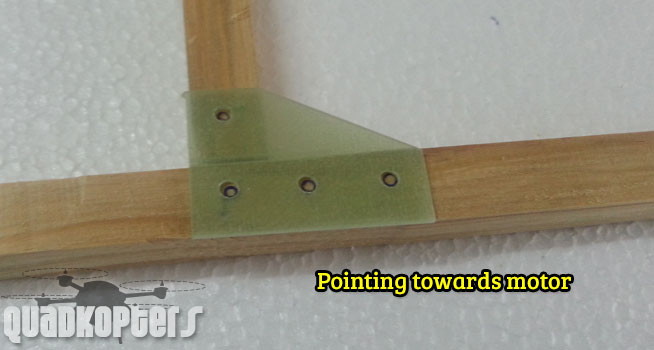
Step 6: Now place the 90o right angle holder with longer side pointing towards the motor and mark other holes. Repeat with all joints.
Step 7: Once you get all markings , time to move to drill press.

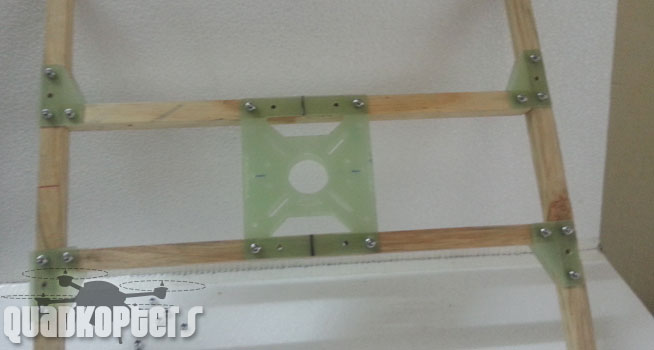
Step 8(a): Now lets assemble all together, you need some M3x25 screws and some M3 nuts (lock nuts would also do). First we have to fix the top and the bottom plates. Advice: Dont tighten up the screw completely, do that after you have added every bit together.
Step 8(b): Now the angles on the top.
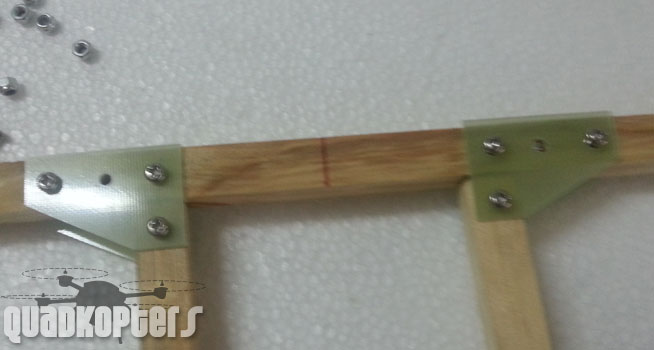
Step 8(c): Angles at the bottom, after you are done, using a right angle make sure that each arm is at 90o and tighten the screw.

Thats all and your H Quad is ready
You can also can this an I quad (many people do)
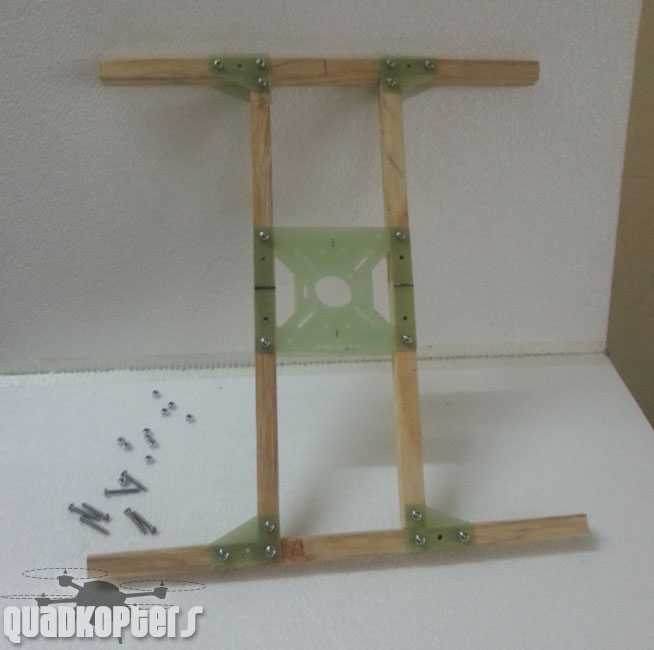
You can mount motors directly or use our straight motor mounts.